his week, we’ll be beginning our first four-part series as we look at the rise to power of the Imperial Japanese Military. We’ll be tracing the military from its origins in the fall of the Tokugawa to the start of war with China in 1937.
This week, we’ll be covering the inception of the Imperial military, its early form, and its early trials abroad and at home as the new Meiji government struggles to solidify its hold over Japan.
Drea, Edward. In The Service of the Emperor: Essays on the Imperial Japanese Army
Drea, Edward. Japan’s Imperial Army: Its Rise and Fall, 1853-1945.
Jansen, Marius. The Making of Modern Japan.
Pyle, Kenneth. The Making of Modern Japan.
Images (Courtesy of the Wikimedia Foundation)
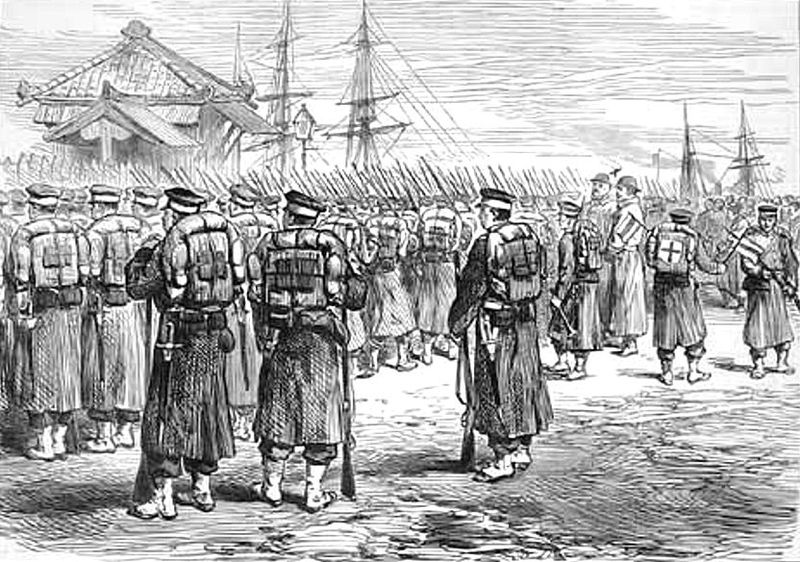
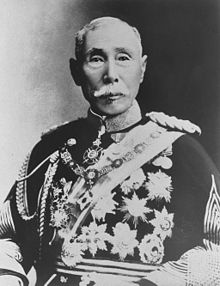
The Battle of Toba-Fushimi in 1868, which convinced the Shogun Tokugawa Yoshinobu to give up without further conflict. Shogunate troops are on the left, Choshu on the upper right, Satsuma on the lower right.The 16 petal crysanthemum, symbol of both the Emperor himself and the army which, at least nominally, served him.The shogunate’s army in retreat after the Battle of Toba-Fushimi. Choshu troops are depicted pursuing fleeing shogunate units. This picture is from 1870.Koedabashi bridge, one of the crossing points leading into Kyoto that saw fighting during the Battle of Toba-Fushimi. The Imperial Forces, against all predictions, managed to hold the line.Several domains in northern Japan joined together to fight the Imperial Army even after the fall of the Tokugawa. The ones shown here are from Sendai domain.Yamagata Aritomo, the man who would eventually lead the Imperial Army. This picture is from much later in his life (1920).Katsu Kaishu, the man who surrendered Edo castle to the Imperial Army to avoid the destruction of Japan’s capitol city. He would eventually go on to lead the Imperial Japanese Navy.Soldiers of the Imperial Japanese Army boarding troop transports in Yokohama during the Satsuma Rebellion in 1877.Japanese soldiers on Taiwan during the 1874 expedition to punish the natives of the island.Japanese marines from the IJN Unyo-maru landing on Ganghwa Island and storming the Korean garrison.